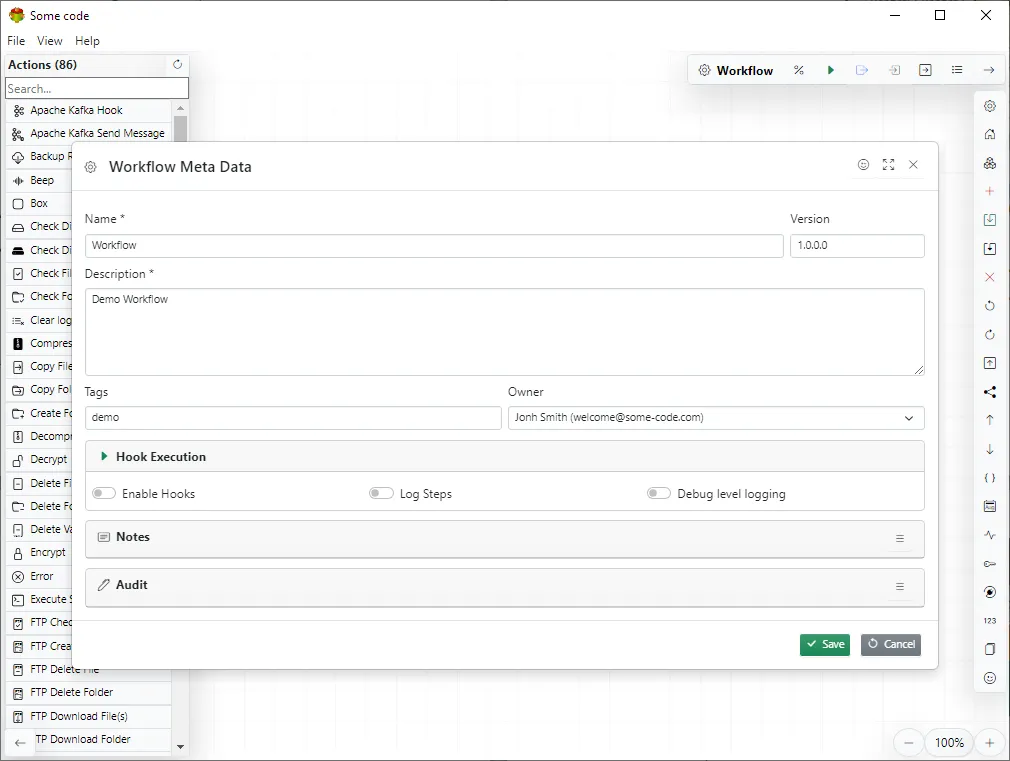
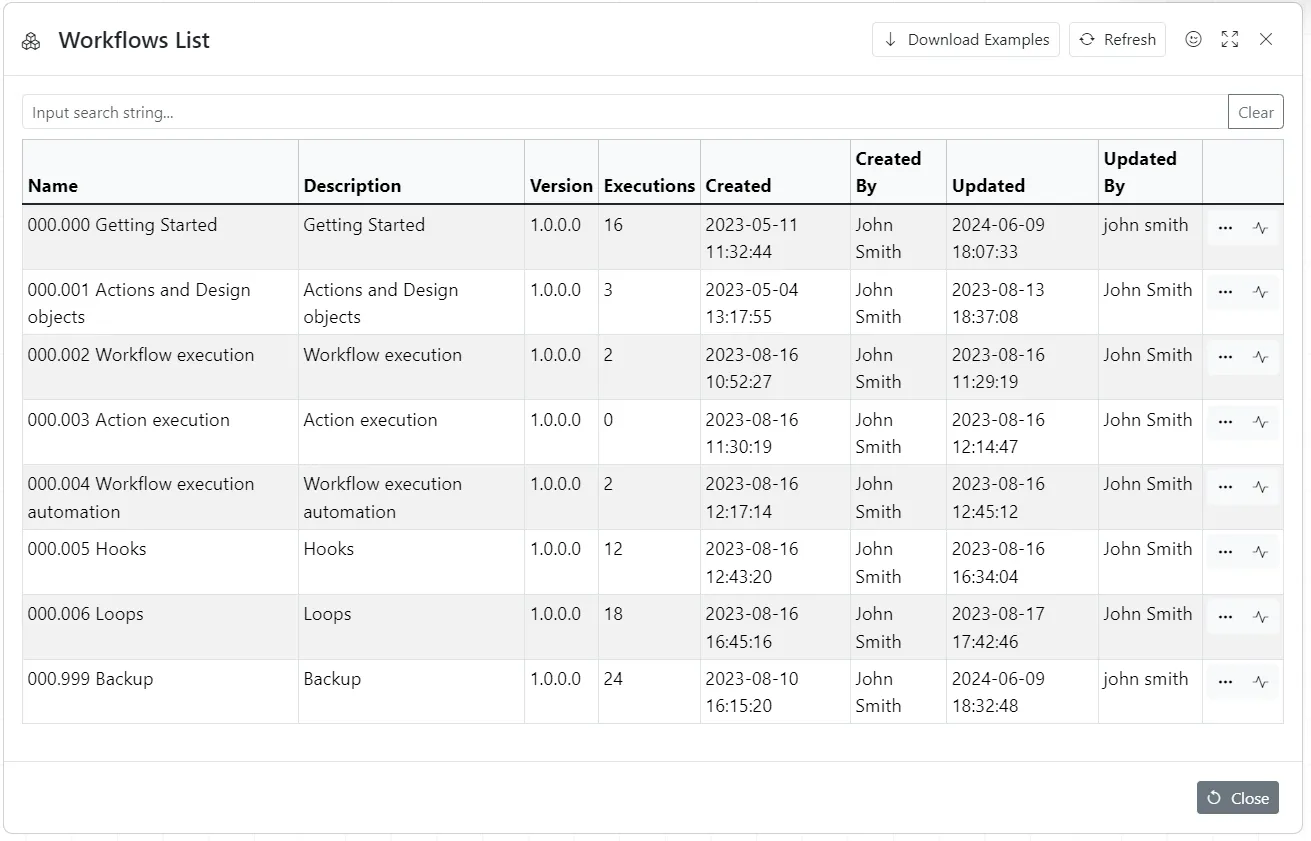
To create new workflow click plus button, fill in all necessary fields and click ok button
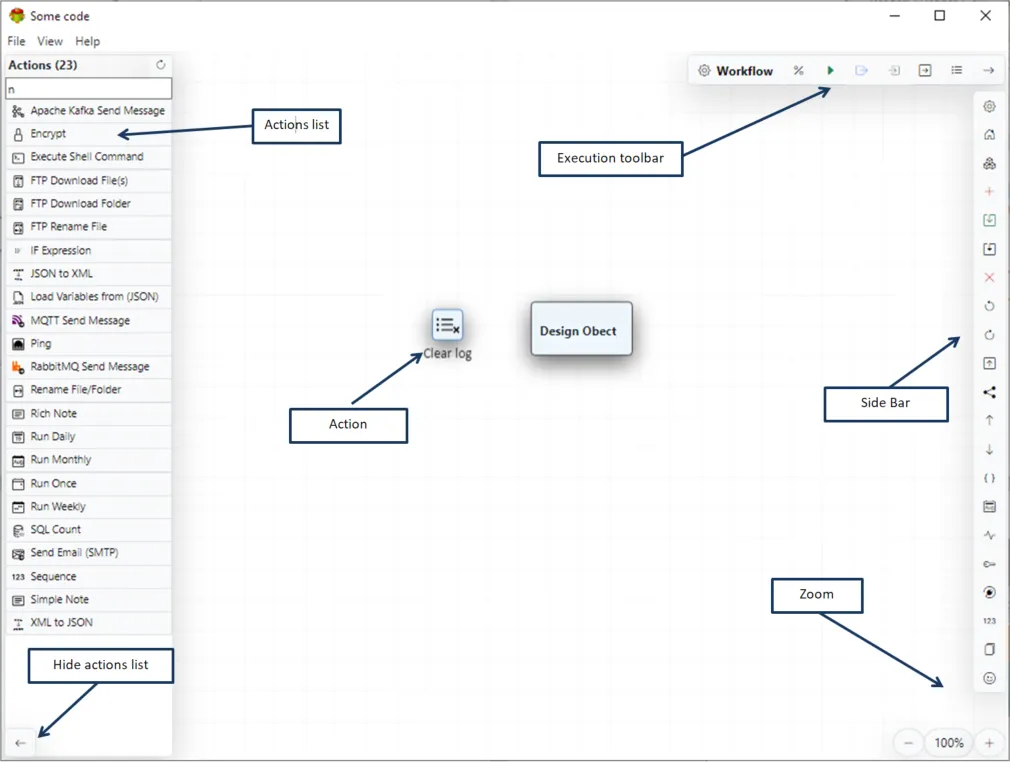
The workflow consists of Actions and Design objects.
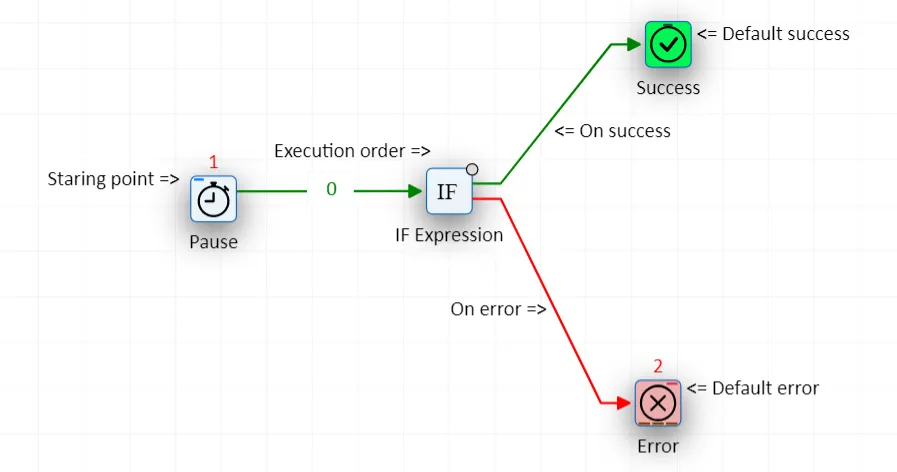
Every workflow has a starting Action (green thin line on the top left)
It might also have a default success Action (blue thin line on the top middle) and a default error Action (red thin line on the top right)
The number on the top represents the execution order.
Thin brown lines at the bottom indicate the last action executed
Small circle at top right is brake point
To remove the join repeat the process
![]()
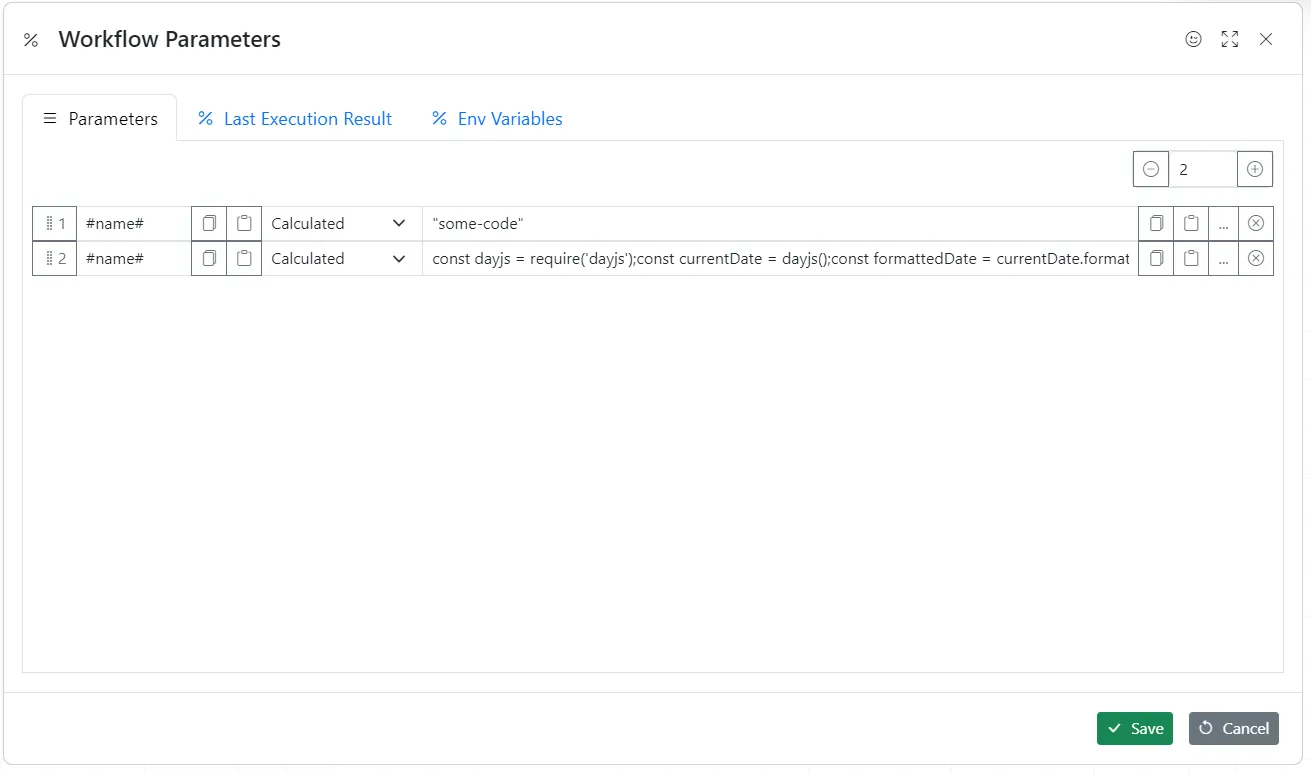
Note Workflow parameters are calculated as the first step of workflow execution
Every parameter has a name and a value There are three types of parameters
Once workflow is executed once the actual parameters values can be seen by clicking “Calculated parameters”
Workflow can be executed manually by clicking green arrow. It is also possible to execute individual actions by using context menu.

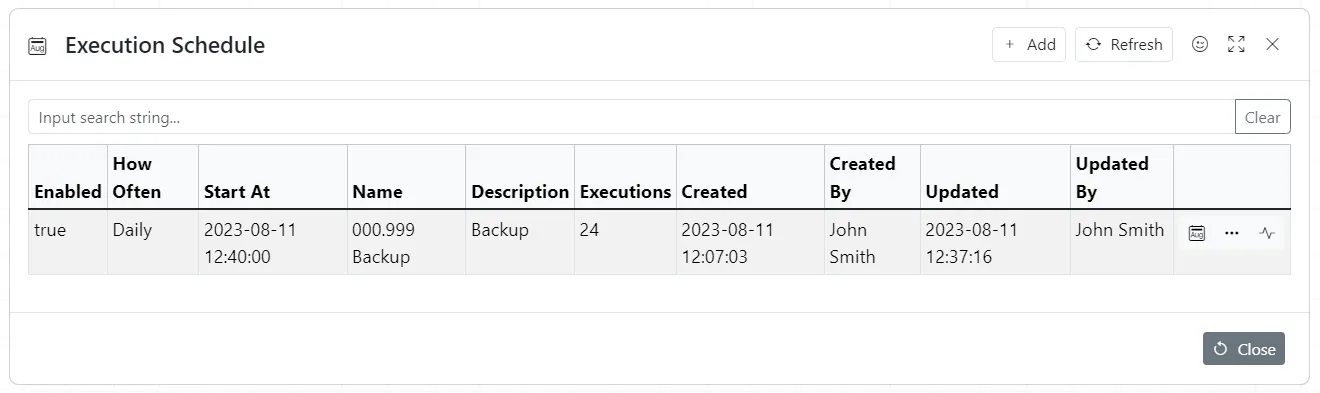
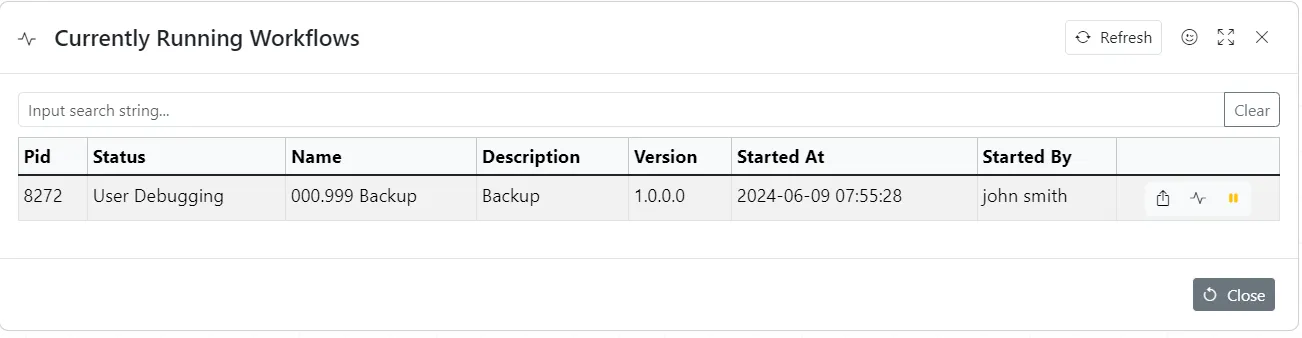
Deploy workflow dialogue is used for constantly running workflows.

It allows to control level of logging
Execution log helps to debug workflow execution and investigate problems
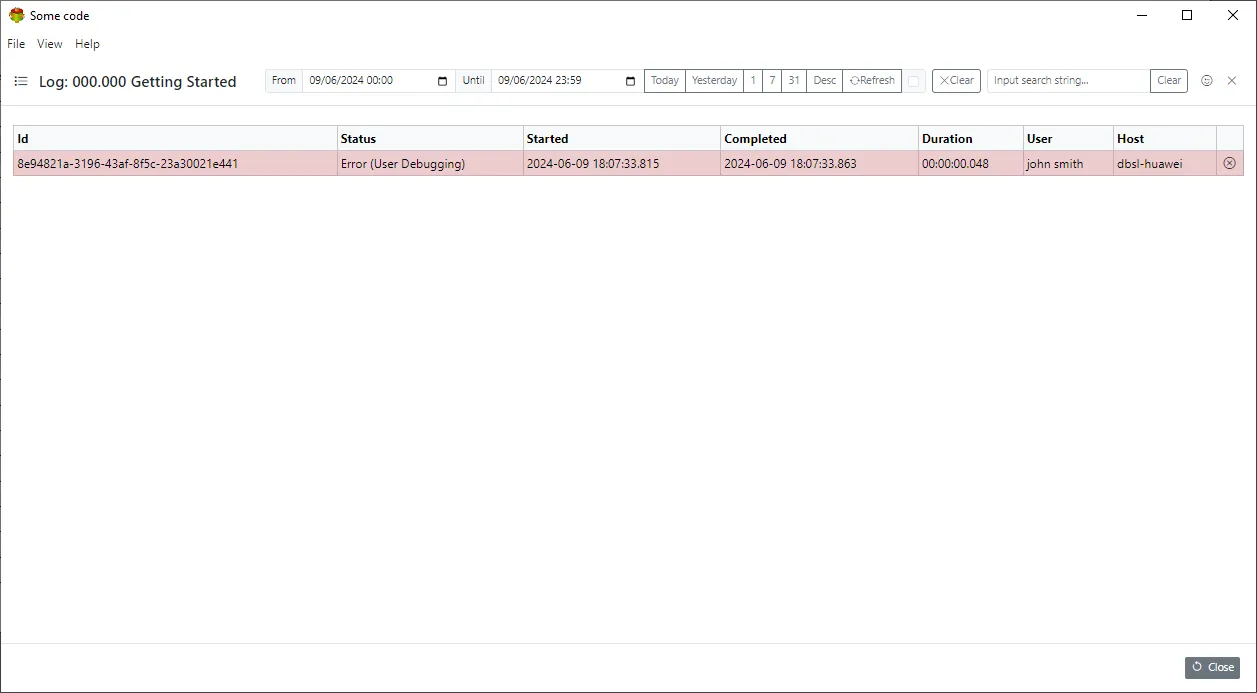
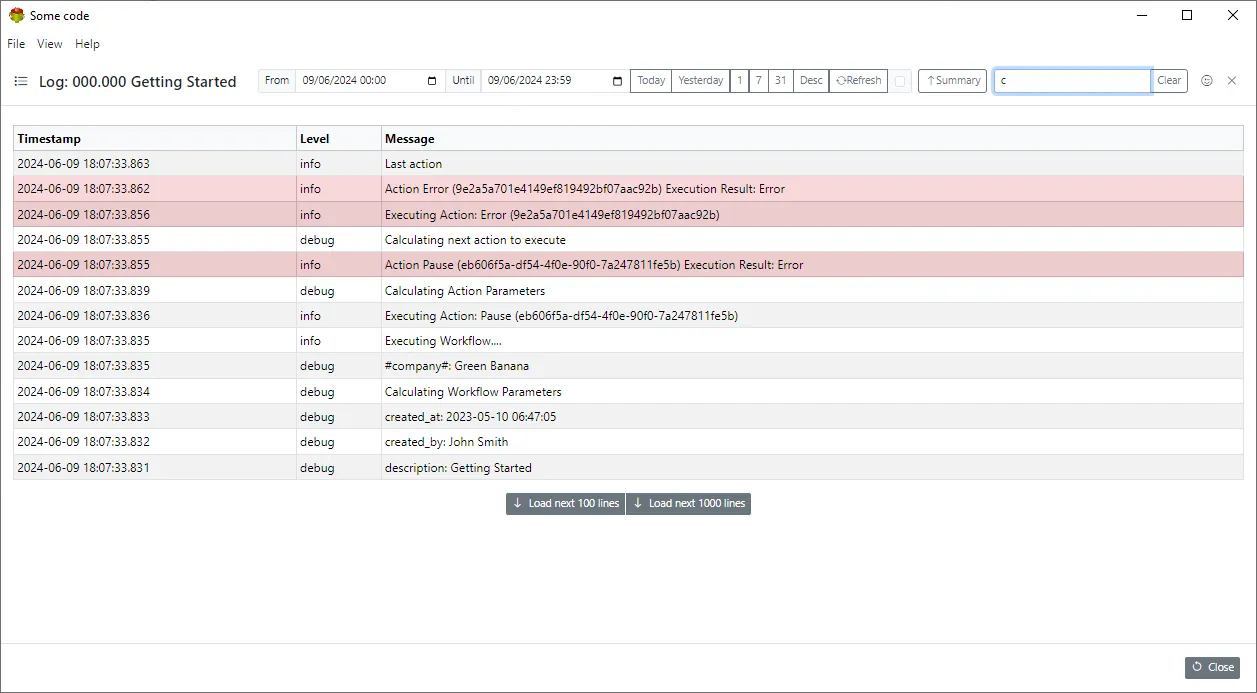
![]()
Most of the toolbar actions are self explanatory so we will concentrate on not so obvious ones
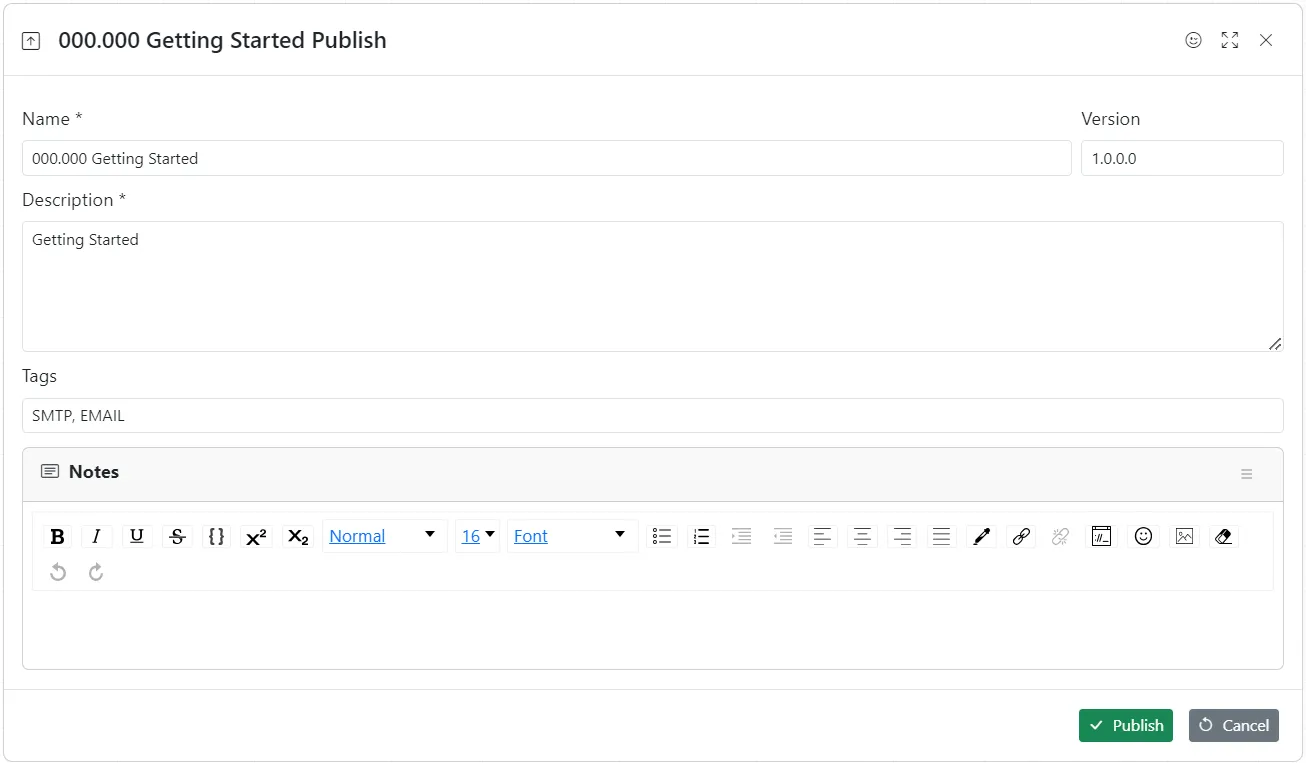
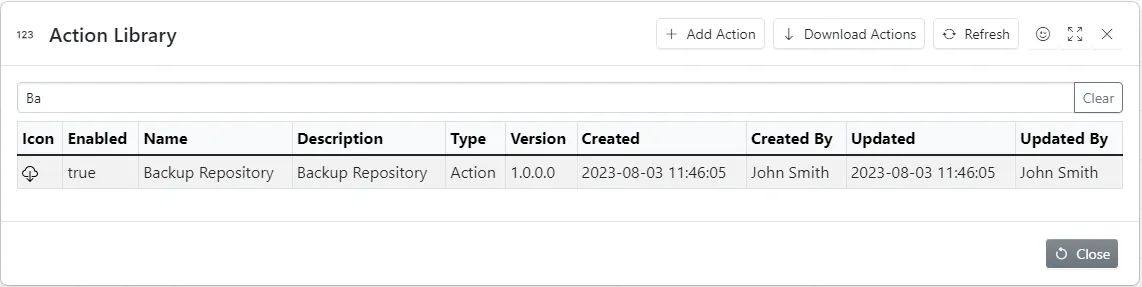
This dialogue publishes workflow to the public library so it can be used by all users of Some code
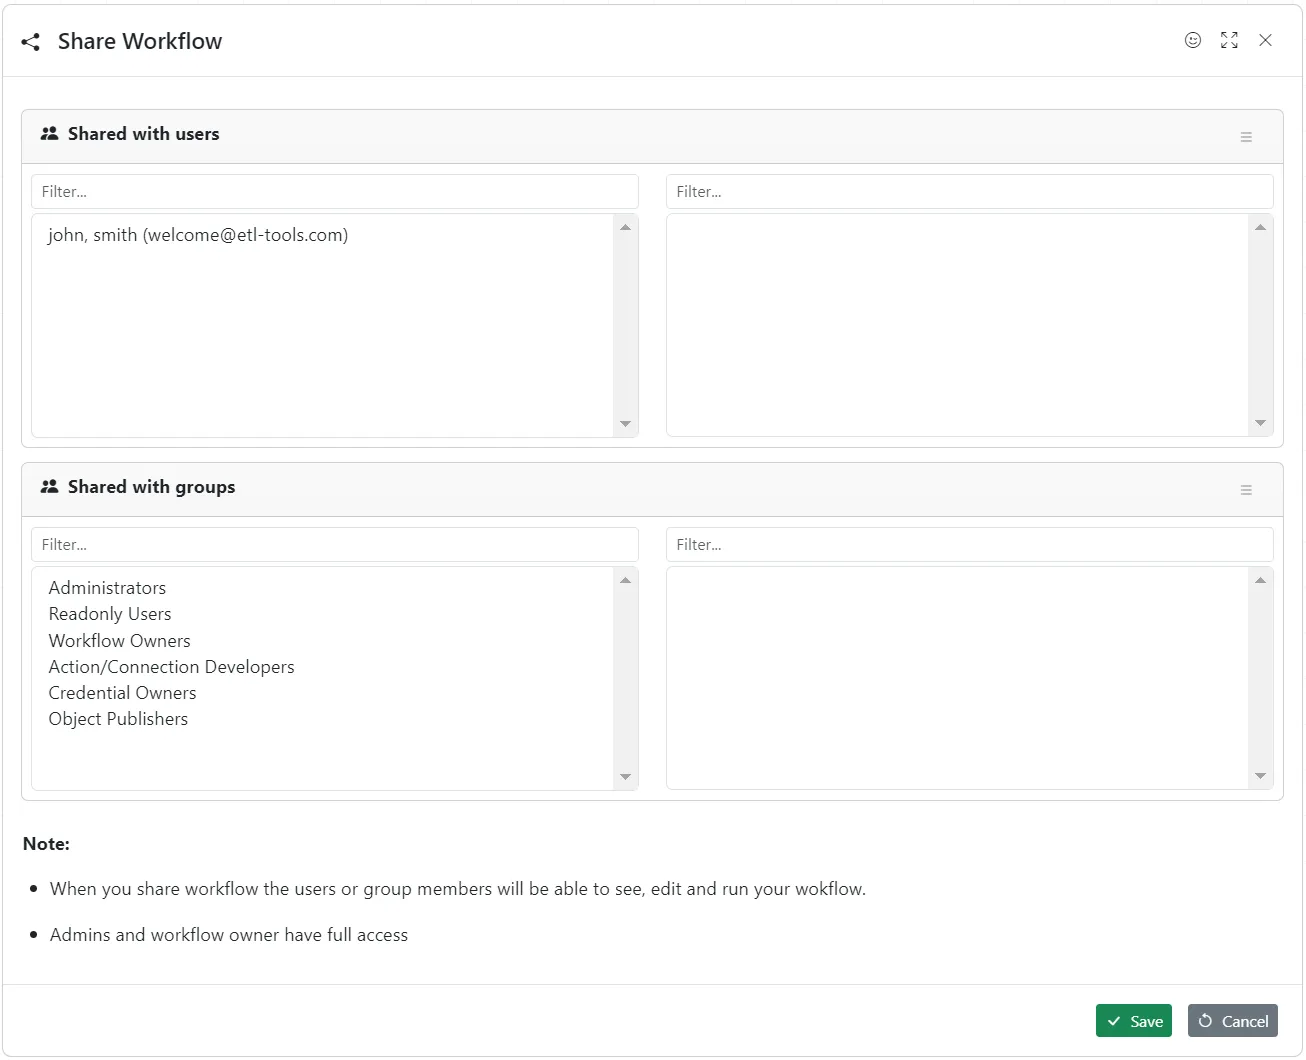
This dialogue allows the user to share workflow with other users or group

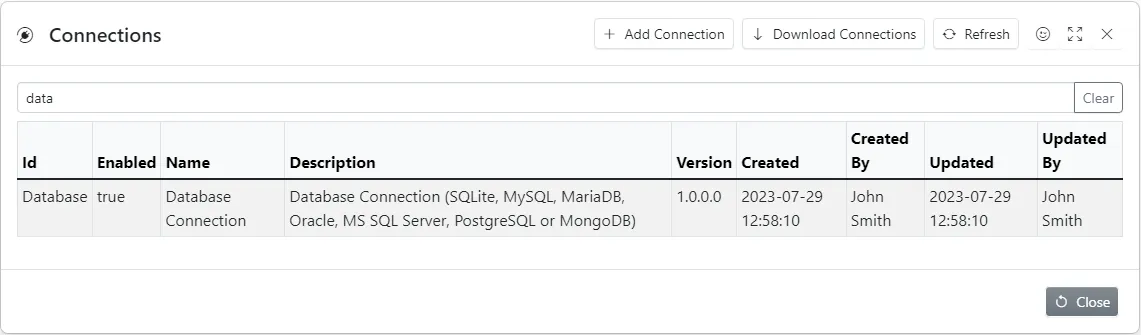
Connection defines list values the credential must have
For example
Database connection
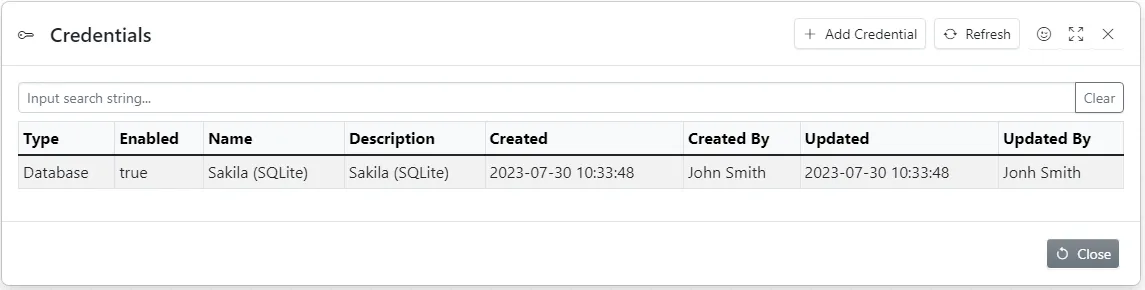
Database credential
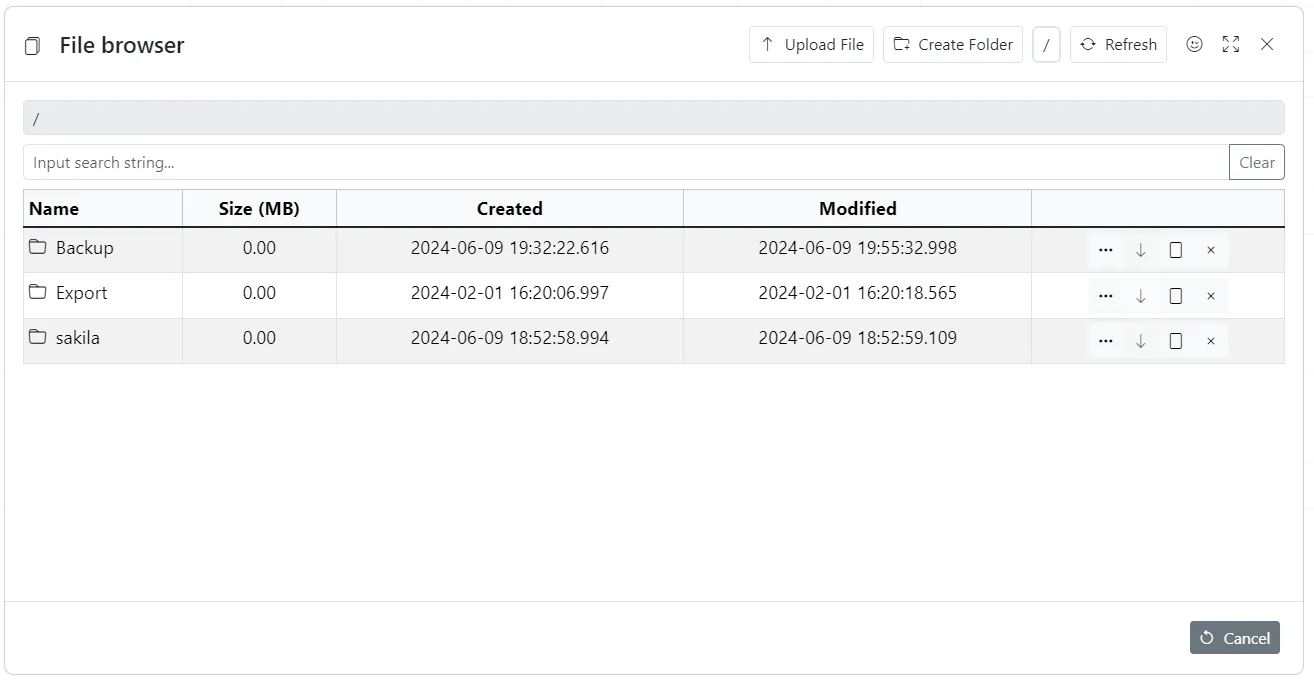
File browses provides a connivent way of browsing file system files
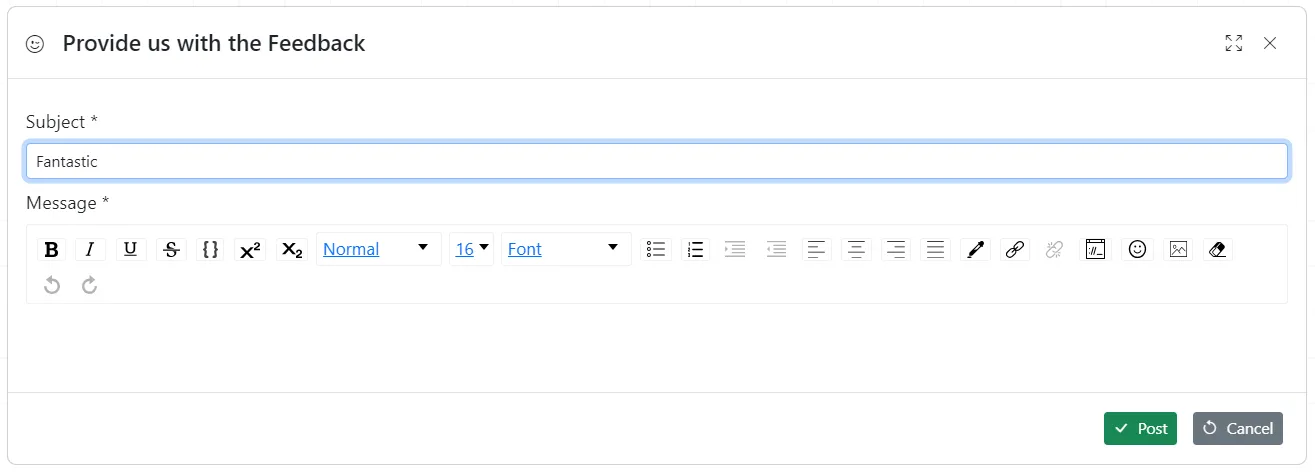
Sends feedback to “Some code” developers. We welcome your suggestions to make our software better
F2: Execute Workflow
Crtrl+O: Open Workflow
Crtrl+L: Execution Log
Crtrl+P: Metadata
Alt+P: Parameters
Crtrl+S: Save package
Crtrl+Z: Undo
Crtrl+Y: Redo
Crtrl+A: Select all
Del: Delete selected
- Zoom In
+ Zoom Out
(Please click on the design area first)\
ESC Go back/Close dialogue
Ctrl+S Save data\
19 July 2023
Back
IntroductionNext Page
Workflow Execution